
Installing laminate flooring yourself is one of the most rewarding home improvement projects you can take on. It delivers the warmth and visual appeal of hardwood at a fraction of the cost, and with the right guidance, even first-time DIYers can achieve professional-looking results. This comprehensive step-by-step guide walks you through every stage of laminate flooring installation from preparing the subfloor to laying the final plank.
What You Need Before You Start: Tools and Materials
Before you begin installing laminate flooring, gather everything you will need. Proper preparation prevents costly mid-project delays.
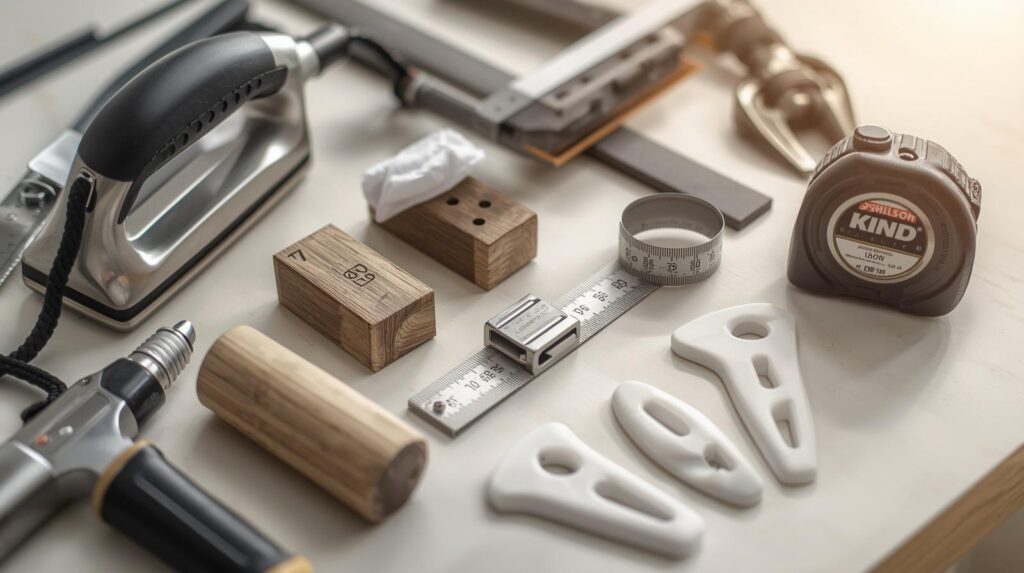
Essential tools include:
- Tape measure and pencil
- Circular saw or miter saw
- Pull bar and tapping block
- Rubber mallet
- Spacers (for expansion gaps)
- Utility knife
- Safety glasses and knee pads
In terms of materials, you will need your laminate planks, underlayment (if not pre-attached), transition strips, and moisture barrier for rooms with potential humidity. Always purchase 10–15% extra laminate to account for cuts and waste. Read the manufacturer’s instructions thoroughly before proceeding warranties may be voided if installation guidelines are not followed.
Step 1 – Prepare and Inspect the Subfloor
Subfloor preparation is the single most critical step in any laminate flooring installation. A clean, level, and dry subfloor ensures the planks click together correctly and remain stable for years.
Start by removing all furniture and existing floor coverings. Inspect the subfloor for squeaks, soft spots, or protruding nails or screws. Use a long straightedge or level to check for dips and humps laminate installation requires the subfloor to be flat within 3/16 inch over a 10-foot span. Fill low spots with floor leveling compound and sand down high spots. Remove any debris, dirt, or adhesive residue.
If you are installing over concrete, conduct a moisture test. High moisture levels can cause laminate to warp and buckle over time. If moisture readings are elevated, apply a suitable vapor barrier before laying the underlayment.
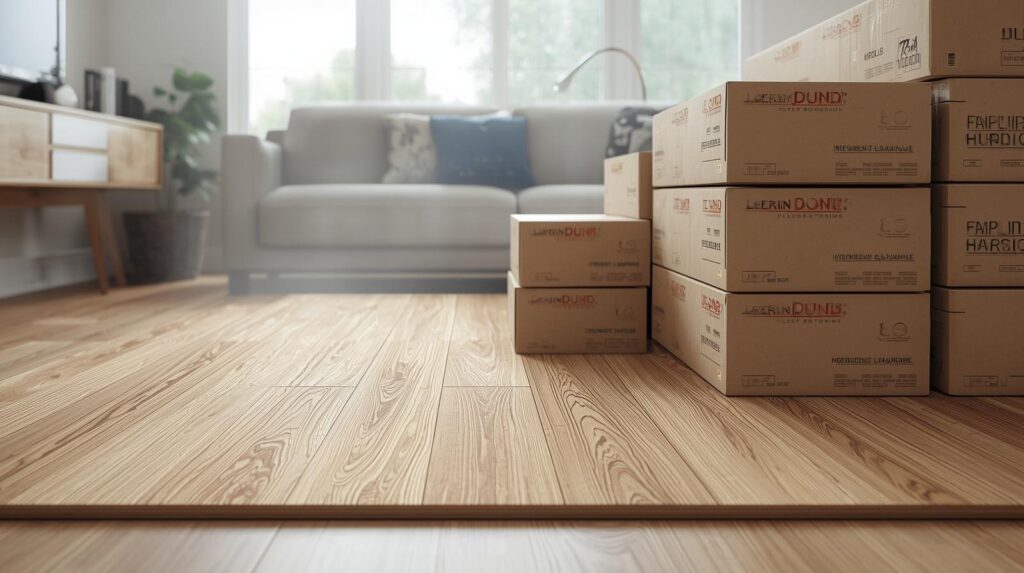
Step 2 – Acclimate the Laminate Flooring
One of the most commonly skipped steps in DIY laminate flooring installation is acclimation. Laminate planks are sensitive to temperature and humidity. Before installation, leave the unopened boxes flat in the room where they will be installed for at least 48 to 72 hours. This allows the material to expand or contract to match the room’s environment.
Maintain the room temperature between 65°F and 85°F (18°C to 29°C) during acclimation and throughout the installation process. Avoid installing laminate flooring in rooms with extreme humidity fluctuations, such as saunas or unventilated bathrooms.
Step 3 – Lay the Underlayment
Underlayment serves multiple purposes in a laminate flooring installation: it provides cushioning underfoot, reduces sound transmission, and acts as a moisture barrier. If your laminate does not come with pre-attached underlayment, roll out your chosen underlayment across the entire floor, overlapping seams by 2 to 3 inches and securing them with tape.
Do not overlap the underlayment up the walls trim it flush with the baseboard line. When installing over concrete, use a foam or cork underlayment with a built-in vapor barrier. On wood subfloors, a standard foam underlayment is typically sufficient. Never double up underlayment layers, as this can cause the locking joints in laminate planks to stress and fail.
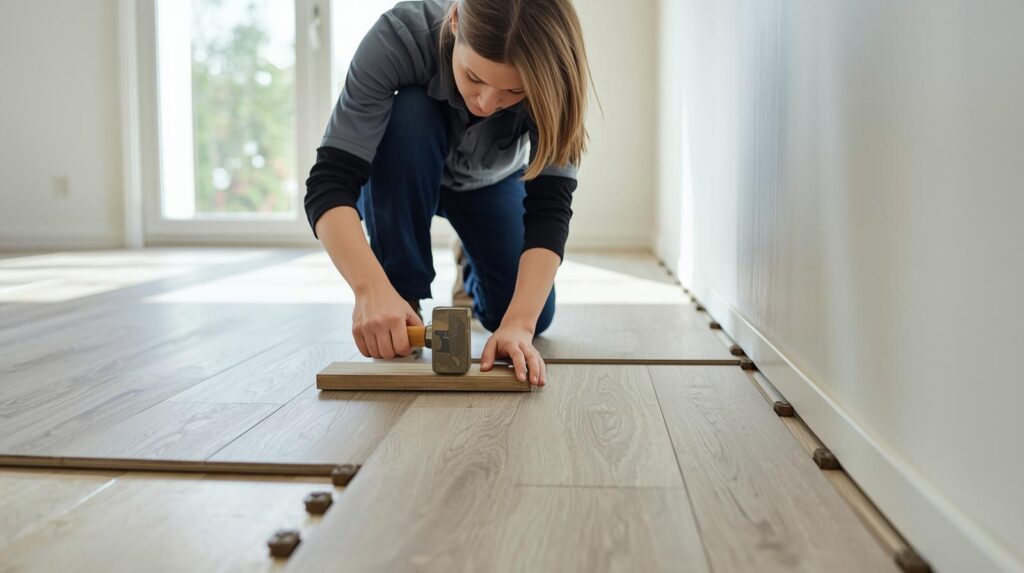
Step 4 – Install the Laminate Planks
Begin the laminate flooring installation in the corner farthest from the main doorway, working left to right. Place spacers along every wall to maintain a 1/4-inch to 3/8-inch expansion gap this is non-negotiable because laminate expands and contracts with seasonal changes.
For the first row, orient planks with the tongue side facing the wall. Click planks together end-to-end at a slight angle, then press flat. Use the tapping block and rubber mallet to ensure tight seams without damage. Stagger end joints between rows by at least 8 to 12 inches for structural stability and a more natural appearance. Cut the last plank in each row using your saw and use the offcut to begin the next row (provided it meets the minimum stagger requirement).
When approaching doorframes, use an undercut saw or handsaw to trim the bottom of the door casing so the laminate slides underneath it this achieves a clean, professional finish. For the final row, use a pull bar to click planks into place when there is not enough room to swing a mallet.
Step 5 – Finishing Touches and Post-Installation Care
Once all laminate planks are installed, remove all the expansion spacers. Install transition strips between the laminate and adjacent flooring in doorways and between rooms. Reinstall or replace baseboards and quarter-round molding to cover the expansion gap along the walls — never nail these into the laminate itself, only into the wall or existing baseboard.
Allow the floor to settle for 24 hours before placing heavy furniture. When moving furniture back in, use felt pads on all legs to prevent scratching. Sweep or vacuum regularly with a soft-bristle attachment, and clean spills immediately with a damp (not wet) mop. Avoid steam mops and excessive water, which can swell the core of laminate planks.
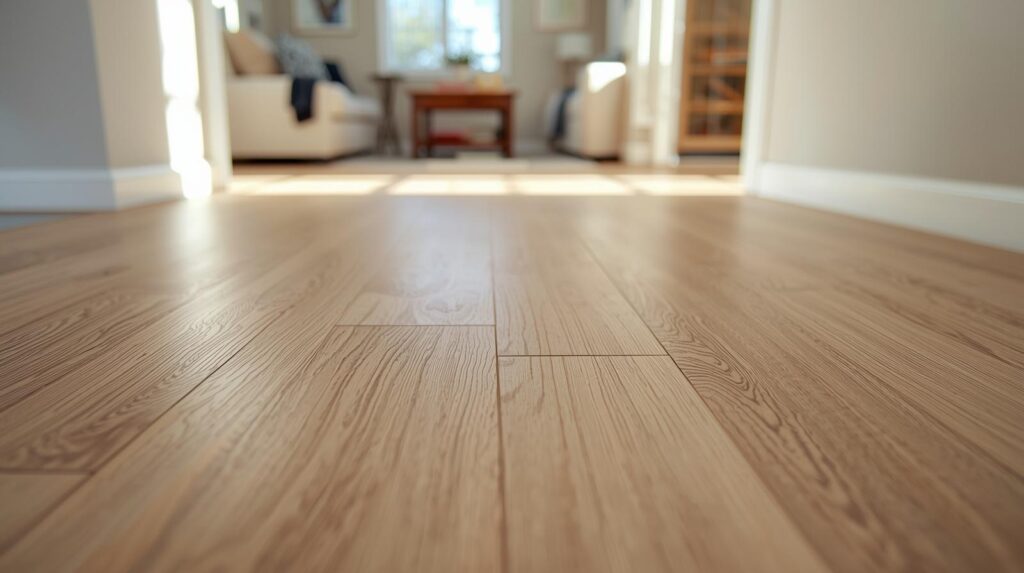
With proper care, a quality laminate floor can last 15 to 25 years. Following this step-by-step guide ensures your laminate flooring installation is stable, beautiful, and durable for years to come.
