
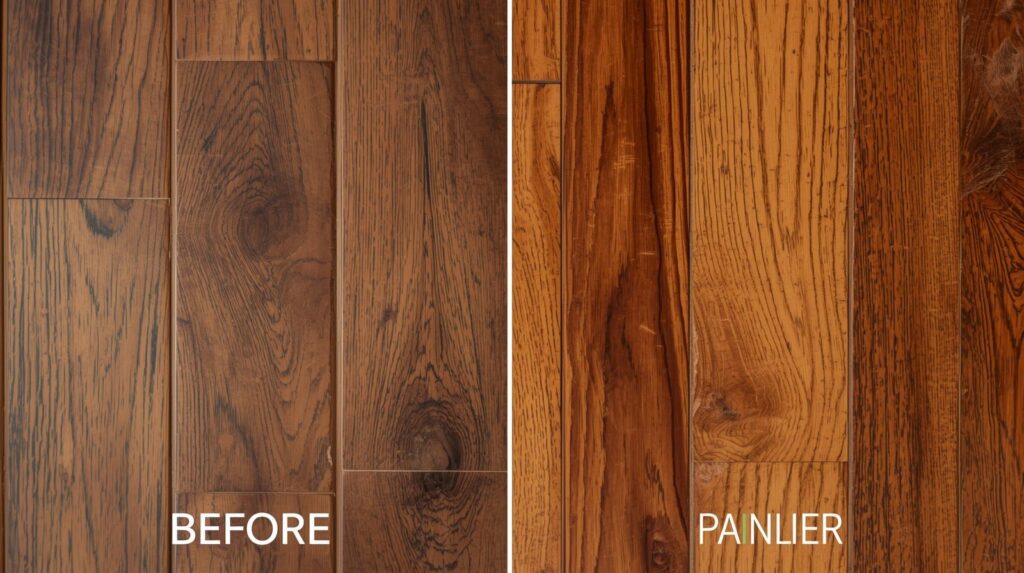
Hardwood floors are a timeless feature that can last a century when properly maintained — but eventually every wood floor loses its luster. While traditional hardwood floor refinishing involves aggressive drum sanding that removes the top layer of wood, that is not always necessary. Knowing how to refinish hardwood floors without sanding — using a technique called screen and recoat — allows you to restore the finish without the dust, cost, and risk of sanding through the wood. This guide explains exactly when and how to use this approach.
Screen and Recoat vs Full Sanding: Which Does Your Floor Need?
Before investing time and money into any refinishing project, you need to determine whether your hardwood floors genuinely need a full sand or whether a screen and recoat will suffice. This distinction is crucial.
The screen and recoat method is appropriate if:
- The finish is dull, scuffed, or has minor surface scratches
- The wood itself is undamaged (no deep gouges, cupping, or staining that penetrates the wood)
- The floor still has adequate finish depth and has not been sanded down close to the tongue and groove
- Discoloration is only in the topcoat, not the wood
You will need full drum sanding if the floor has deep scratches that penetrate the wood, black staining from water damage, significant cupping or crowning, or multiple prior recoat layers that are failing to bond. A simple scratch test: press a coin firmly across the surface. If it scratches through to raw wood, a recoat alone may not adhere properly without sanding.
Gather Your Supplies: What You Need to Refinish Without Sanding
The screen and recoat method requires significantly less equipment than full sanding, making it a manageable DIY project. You will need:
- Floor buffer (rental from a home improvement store) or orbital sander
- Abrasive screen pads (typically 120-grit)
- Vacuum and tack cloths
- Hardwood floor cleaner compatible with your finish type
- Polyurethane or water-based floor finish (matching your existing sheen level)
- Applicator pad or lambswool applicator
- Painter’s tape and plastic sheeting
- Safety glasses and respirator
Identify your existing finish type before purchasing a topcoat. Oil-based polyurethane should be recoated with oil-based products; water-based finishes require water-based products. Applying an incompatible finish is the leading cause of adhesion failure in no-sand floor refinishing.
Step 1 – Deep Clean the Hardwood Floor Thoroughly
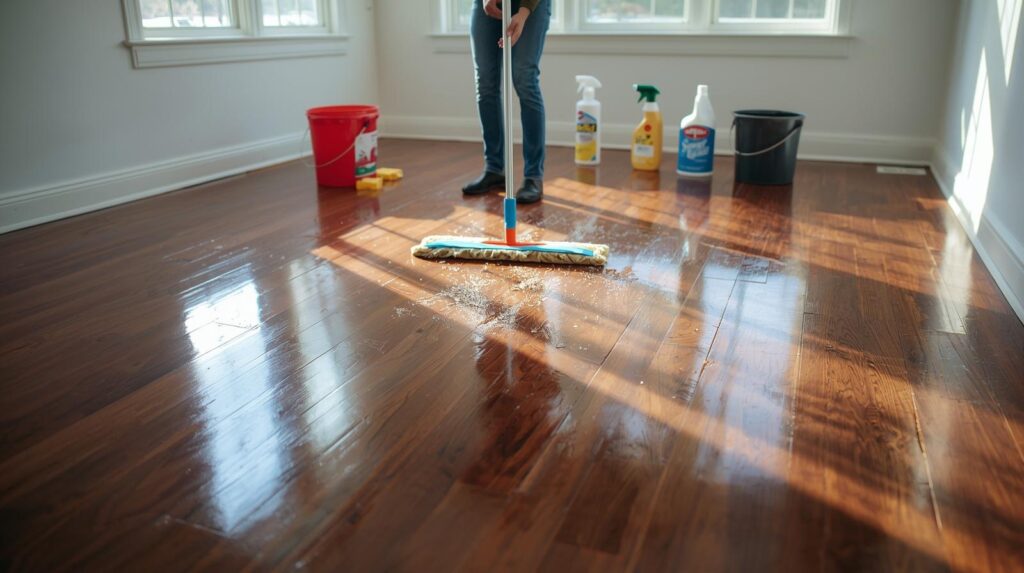
The single most critical preparation step when refinishing hardwood floors without sanding is achieving a surgically clean surface. Any wax, residue, or cleaning product contamination will prevent the new finish from bonding.
Start by vacuuming thoroughly, then mop with a professional hardwood floor cleaner or a solution of diluted white vinegar. Avoid anything containing wax, oil soaps (like Murphy’s Oil Soap), or silicone — these leave invisible residues that sabotage adhesion. If the floor has been treated with wax at any point, you will need a wax remover before proceeding. Allow the floor to dry completely — at least 4 hours — before moving to the screening step.
Step 2 – Screen (Lightly Abrade) the Existing Finish
Screening does not remove the old finish — it creates thousands of tiny scratches (mechanical adhesion) that allow the new finish coat to bond. Attach a 120-grit abrasive screen pad to your floor buffer and work systematically in the direction of the wood grain, using slow, overlapping passes. Do not use coarser grits, which can leave visible scratches under the new finish.
After screening the main floor area, use a pole sander with the same grit screen to address the edges and corners where the buffer cannot reach. When the entire floor has been screened, vacuum meticulously — every particle of dust will show under the new finish. Follow the vacuum with multiple passes of a slightly dampened tack cloth. Seal off doorways and HVAC vents to prevent dust from resettling.
Step 3 – Apply the New Finish Coat

With the floor scrupulously clean and screened, you are ready to apply the new finish. Apply painter’s tape to baseboards and use plastic sheeting to protect adjacent surfaces. Plan your application path so you work toward the exit — never paint yourself into a corner.
Pour a manageable amount of finish into a tray or bucket. Working in sections and following the wood grain, apply the finish with a quality lambswool applicator or foam applicator pad in long, smooth, slightly overlapping strokes. Do not over-apply — a thin, even coat is superior to a thick one that may dry unevenly or bubble. Feather out the edges of each section as you go. Allow the first coat to dry fully per the manufacturer’s instructions (typically 2–4 hours for water-based, longer for oil-based), then apply a second coat for best durability.
Curing, Maintenance, and When to Call a Professional
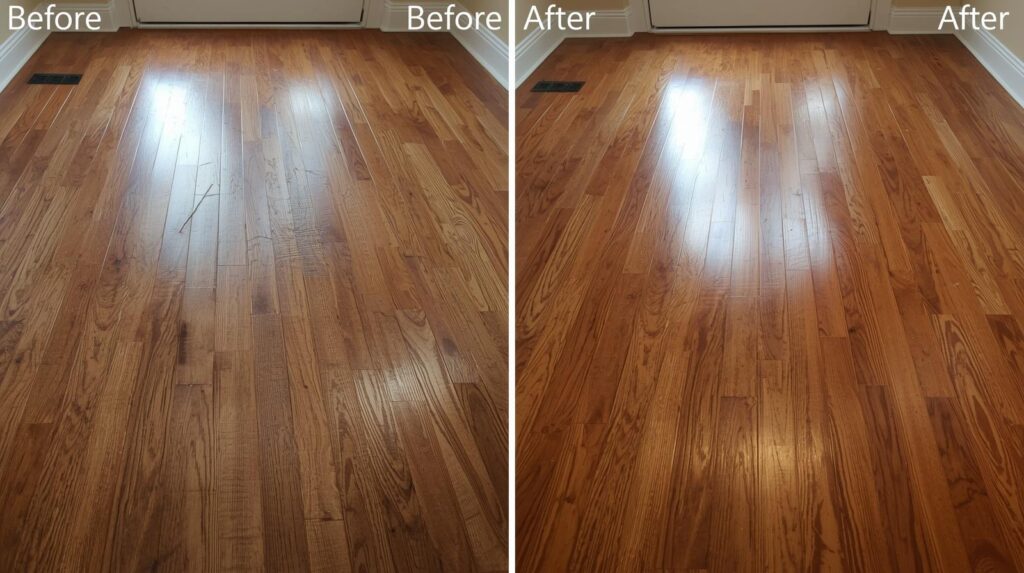
After the final coat of finish is applied, allow the floor to cure before returning to normal use. While a water-based finish may feel dry to the touch within hours, hardwood floor finishes require time to cure to full hardness.
Follow these curing guidelines:
- Wait 24 hours before walking on the floor in socks only
- Wait 48–72 hours before replacing furniture (use felt pads on all feet)
- Wait 7–10 days before washing or placing area rugs
- Wait 30 days for full cure before heavy use or moving heavy appliances
To maintain your refinished floor, sweep or vacuum regularly, wipe spills immediately, and use only pH-neutral hardwood floor cleaners. Avoid steam mops, which can raise the grain and break down the finish. With proper care, a screen and recoat refinish typically lasts 3 to 5 years before the process needs to be repeated. If your floors are beyond this treatment — with deep staining, gouging, or a heavily worn finish — consult a professional hardwood floor refinishing contractor for a full sand and refinish.
